Docker Build
Now that we are relatively comfortable with Docker, lets look at some advanced Docker topics, such as:
Push a Docker image to the Docker Hub Registry
Modifying a Dockerfile and creating a new container
Establish a Docker Hub autobuild on GitHub with CI/CD
1.0 The Dockerfile
Note
This is one of the official Docker images provided by the Jupyter Project for you to build your own data science notebooks on:
Create a file called Dockerfile, and add content to it as described below, e.g.
$ nano Dockerfile
Important
Dockerfile needs to be capitalized.
Contents of our Dockerfile:
# base image
FROM jupyter/scipy-notebook:latest

# reset user to root for installing additional packages
USER root

# Install a few dependencies for iCommands, text editing, and monitoring instances
RUN apt-get update && apt-get install -y \
      apt-transport-https \
      gcc \
      gnupg \
      htop \
      less \
      libfuse2 \
      libpq-dev \
      libssl1.0 \
      lsb \
      nano \
      nodejs \
      python-requests \
      software-properties-common \
      vim

# Install iCommands
RUN wget https://files.renci.org/pub/irods/releases/4.1.12/ubuntu14/irods-icommands-4.1.12-ubuntu14-x86_64.deb && \
dpkg -i irods-icommands-4.1.12-ubuntu14-x86_64.deb && \
rm irods-icommands-4.1.12-ubuntu14-x86_64.deb

# reset container user to jovyan
USER jovyan

# set the work directory
WORKDIR /home/jovyan

# copy configuration json and entry file into the container
COPY jupyter_notebook_config.json /opt/conda/etc/jupyter/jupyter_notebook_config.json
COPY entry.sh /bin

# expose the public port we want to run on
EXPOSE 8888

# directory will be populated by iCommands when entry.sh is run
RUN mkdir -p /home/jovyan/.irods

ENTRYPOINT ["bash", "/bin/entry.sh"]
Note
We use a code line escape character \ to allow single line scripts to be written on multiple lines in the Dockerfile.
We also use the double characters && which essentially mean “if true, then do this” while executing the code. The && can come at the beginning of a line or the end when used with \
Now let’s talk about what each of those lines in the Dockerfile mean.
1. We’ll start by specifying our base image, using the FROM statement
FROM jupyter/scipy-notebook:latest
2. Copy existing files into the new image by using the COPY statement
COPY entry.sh /bin
COPY jupyter_notebook_config.json /opt/conda/etc/jupyter/jupyter_notebook_config.json
Before we forget, create a new file called entry.sh – use your preferred text editor to create the file, e.g. nano entry.sh and put it in the same directory as Dockerfile
#!/bin/bash

echo '{"irods_host": "data.cyverse.org", "irods_port": 1247, "irods_user_name": "$IPLANT_USER", "irods_zone_name": "iplant"}' | envsubst > $HOME/.irods/irods_environment.json

exec jupyter lab --no-browser
The entry.sh file creates an iRODS environment .json which has CyVerse Data Store configurations pre-written. It also tells Docker to start Jupter Lab and to not pop open a browser tab when doing so.
We also create a jupyter_notebook_config.json which will help launch the notebook without a token
{
  "NotebookApp": {
    "allow_origin" : "*",
        "token":"",
        "password":"",
    "nbserver_extensions": {
      "jupyterlab": true
    }
  }
}
3. Specify the port number which needs to be exposed. Since Jupyter runs on 8888 that’s what we’ll expose.
EXPOSE 8888
Note
What about CMD?
Notice that unlike some other Dockerfile this one does not end with a CMD command statement. This is on purpose.
Remember: The primary purpose of CMD is to tell the container which command it should run by default when it is started.
Can you guess what will happen if we don’t specify an ENTRYPOINT or CMD?
4. Setting a new entrypoint
When this container is run, it will now use a different default ENTRYPOINT than the original container from jupyter/scipy-notebook:latest
ENTRYPOINT ["bash", "/bin/entry.sh"]
This entrypoint runs the shell script entry.sh which we just copied into the image
A quick summary of the few basic commands we used in our Dockerfiles.
FROM starts the Dockerfile. It is a requirement that the Dockerfile must start with the FROM command. Images are created in layers, which means you can use another image as the base image for your own. The FROM command defines your base layer. As arguments, it takes the name of the image. Optionally, you can add the Dockerhub username of the maintainer and image version, in the format username/imagename:version.
RUN is used to build up the Image you’re creating. For each RUN command, Docker will run the command then create a new layer of the image. This way you can roll back your image to previous states easily. The syntax for a RUN instruction is to place the full text of the shell command after the RUN (e.g., RUN mkdir /user/local/foo). This will automatically run in a /bin/sh shell. You can define a different shell like this: RUN /bin/bash -c ‘mkdir /user/local/foo’
COPY copies local files into the container.
CMD defines the commands that will run on the Image at start-up. Unlike a RUN, this does not create a new layer for the Image, but simply runs the command. There can only be one CMD per a Dockerfile/Image. If you need to run multiple commands, the best way to do that is to have the CMD run a script. CMD requires that you tell it where to run the command, unlike RUN. So example CMD commands would be:
EXPOSE creates a hint for users of an image which ports provide services. It is included in the information which can be retrieved via
$ docker inspect <container-id>.
Note
The EXPOSE command does not actually make any ports accessible to the host! Instead, this requires publishing ports by means of the -p flag when using docker run.
2.0 Docker Build
Note
Remember to replace <DOCKERHUB_USERNAME> with your username. This username should be the same one you created when registering on Docker hub.
DOCKERHUB_USERNAME=<YOUR_DOCKERHUB_USERNAME>
For example this is how I assign my dockerhub username
DOCKERHUB_USERNAME=tswetnam
Now build the image using the following command:
$ docker build -t $DOCKERHUB_USERNAME/jupyterlab-scipy:cyverse .
Sending build context to Docker daemon  3.072kB
Step 1/3 : FROM jupyter/minimal-notebook
 ---> 36c8dd0e1d8f
Step 2/3 : COPY model.py /home/jovyan/work/
 ---> b61aefd7a735
Step 3/3 : EXPOSE 8888
 ---> Running in 519dcabe4eb3
Removing intermediate container 519dcabe4eb3
 ---> 7983fe164dc6
Successfully built 7983fe164dc6
Successfully tagged tswetnam/jupyterlab-scipy:cyverse
If everything went well, your image should be ready! Run docker images and see if your image $DOCKERHUB_USERNAME/jupyterlab-scipy:cyverse shows.
2.1 Test the image
When Docker can successfully build your Dockerfile, test it by starting a new container from your new image using the docker run command. Don’t forget to include the port forwarding options you learned about before.
$ docker run --rm -it -p 8888:8888 $DOCKERHUB_USERNAME/jupyterlab-scipy:cyverse
You should see something like this:
Executing the command: jupyter notebook
[I 07:21:25.396 NotebookApp] Writing notebook server cookie secret to /home/jovyan/.local/share/jupyter/runtime/notebook_cookie_secret
[I 07:21:25.609 NotebookApp] JupyterLab extension loaded from /opt/conda/lib/python3.7/site-packages/jupyterlab
[I 07:21:25.609 NotebookApp] JupyterLab application directory is /opt/conda/share/jupyter/lab
[I 07:21:25.611 NotebookApp] Serving notebooks from local directory: /home/jovyan
[I 07:21:25.611 NotebookApp] The Jupyter Notebook is running at:
[I 07:21:25.611 NotebookApp] http://(29a022bb5807 or 127.0.0.1):8888/?token=copy-your-own-token-not-this-one
[I 07:21:25.611 NotebookApp] Use Control-C to stop this server and shut down all kernels (twice to skip confirmation).
[C 07:21:25.612 NotebookApp]

    Copy/paste this URL into your browser when you connect for the first time,
    to login with a token:
        http://(29a022bb5807 or 127.0.0.1):8888/?token=copy-your-own-token-not-this-one
Head over to http://localhost:8888 and your Jupyter notebook server should be running.
Note: Copy the token from your own docker run output and paste it into the ‘Password or token’ input box.
Note
If you want to learn more about Dockerfiles, check out Best practices for writing Dockerfiles.
2.2 Tagging images
The notation for associating a local image with a repository on a registry is username/repository:tag. The tag is optional, but recommended, since it is the mechanism that registries use to give Docker images a version. Give the repository and tag meaningful names for the context, such as get-started:part2. This will put the image in the get-started repository and tag it as part2.
Note
By default the docker image gets a latest tag if you don’t provide one. Thought convenient, it is not recommended for reproducibility purposes.
Now, put it all together to tag the image. Run docker tag image with your username, repository, and tag names so that the image will upload to your desired destination. For our docker image since we already have our Dockerhub username we will just add tag which in this case is 1.0
$ docker tag jupyterlab-scipy:cyverse $DOCKERHUB_USERNAME/jupyterlab-scipy:cyverse
3.0 Publishing your image
3.1 Log into the Docker Hub Registry
Note
If you don’t have an account, sign up for one at Docker Cloud or Docker Hub. Make note of your username – it may or may not be the same as your email, GitHub, or CyVerse username. There are several advantages to registering with registries like DockerHub which we will see later on in the session.
If you want to authenticate to a different Registry, type the name of the registry after login:
$ docker login <registry-name>
Authenticating with existing credentials...
WARNING! Your password will be stored unencrypted in /home/tswetnam/.docker/config.json.
Configure a credential helper to remove this warning. See
https://docs.docker.com/engine/reference/commandline/login/#credentials-store

Login Succeeded
If it is your first time logging in you will be queried for your username and password.
Login with your Docker ID to push and pull images from Docker Hub or private registry.
If you don’t have a Docker ID, head over to https://hub.docker.com to create one. Upload your tagged image to the Dockerhub repository
$ docker push $DOCKERHUB_USERNAME/jupyterlab-scipy:cyverse
Once complete, the results of this upload are publicly available. If you log in to Docker Hub, you will see the new image there, with its pull command.
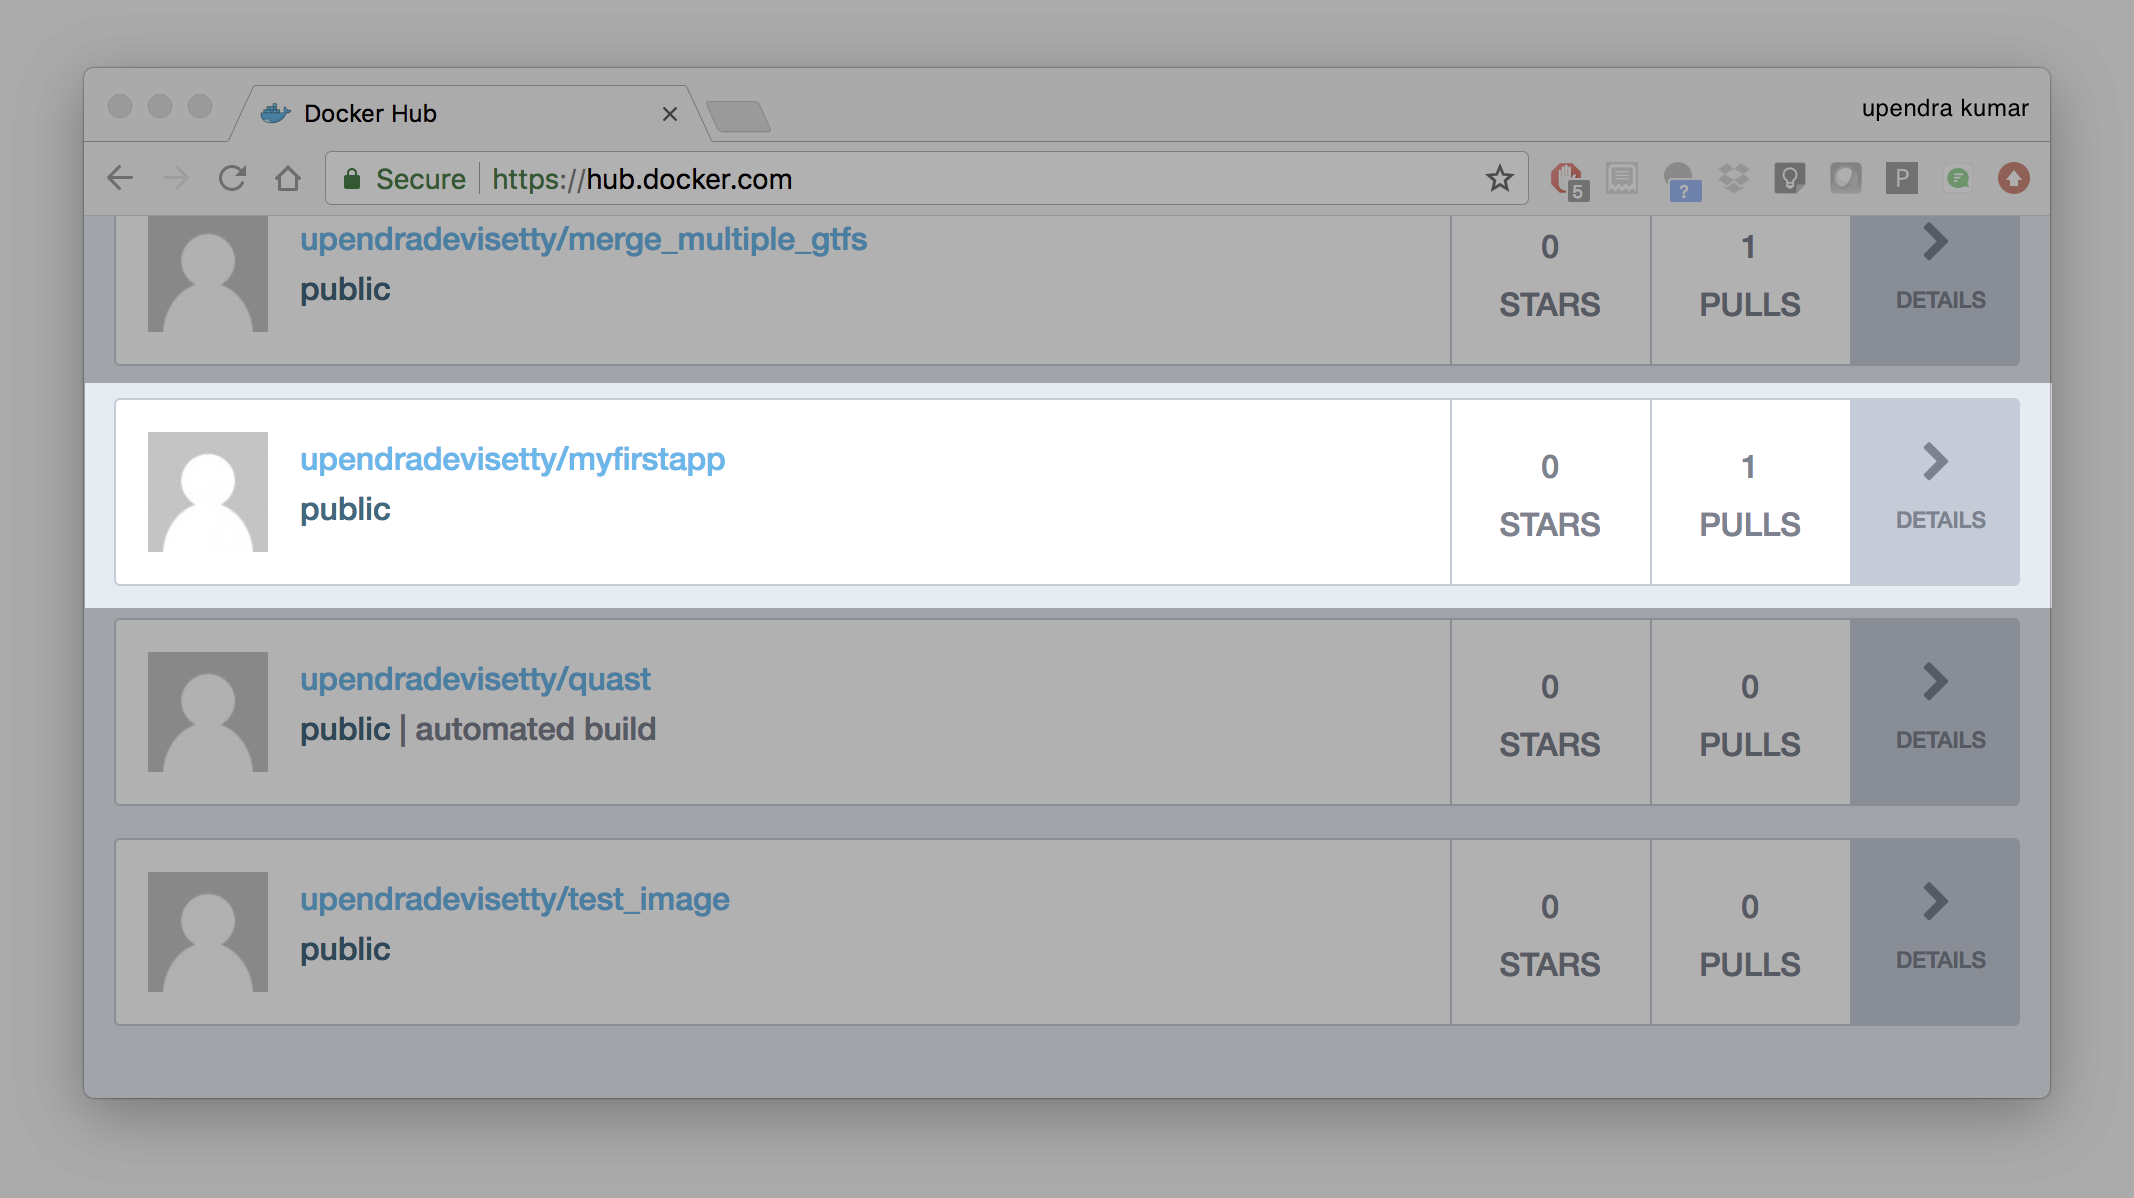
Congrats! You just made your first Docker image and shared it with the world!
3.2 Pull and run the image from the remote repository
Now run the following command to run the docker image from Dockerhub
$ docker run -p 8888:8888 --name notebooktest $DOCKERHUB_USERNAME/jupyterlab-scipy:cyverse
Note
You don’t have to run docker pull since if the image isn’t available locally on the machine, Docker will pull it from the repository.
Head over to http://<vm-address>:8888 and your app should be live.
3.3 Private repositories
In an earlier part, we had looked at the Docker Hub, which is a public registry that is hosted by Docker. While the Dockerhub plays an important role in giving public visibility to your Docker images and for you to utilize quality Docker images put up by others, there is a clear need to setup your own private registry too for your team/organization. For example, CyVerse has it own private registry which will be used to push the Docker images.
3.4 Pull down the Registry Image
You might have guessed by now that the registry must be available as a Docker image from the Docker Hub and it should be as simple as pulling the image down and running that. You are correct!
A Dockerhub search on the keyword registry brings up the following image as the top result:
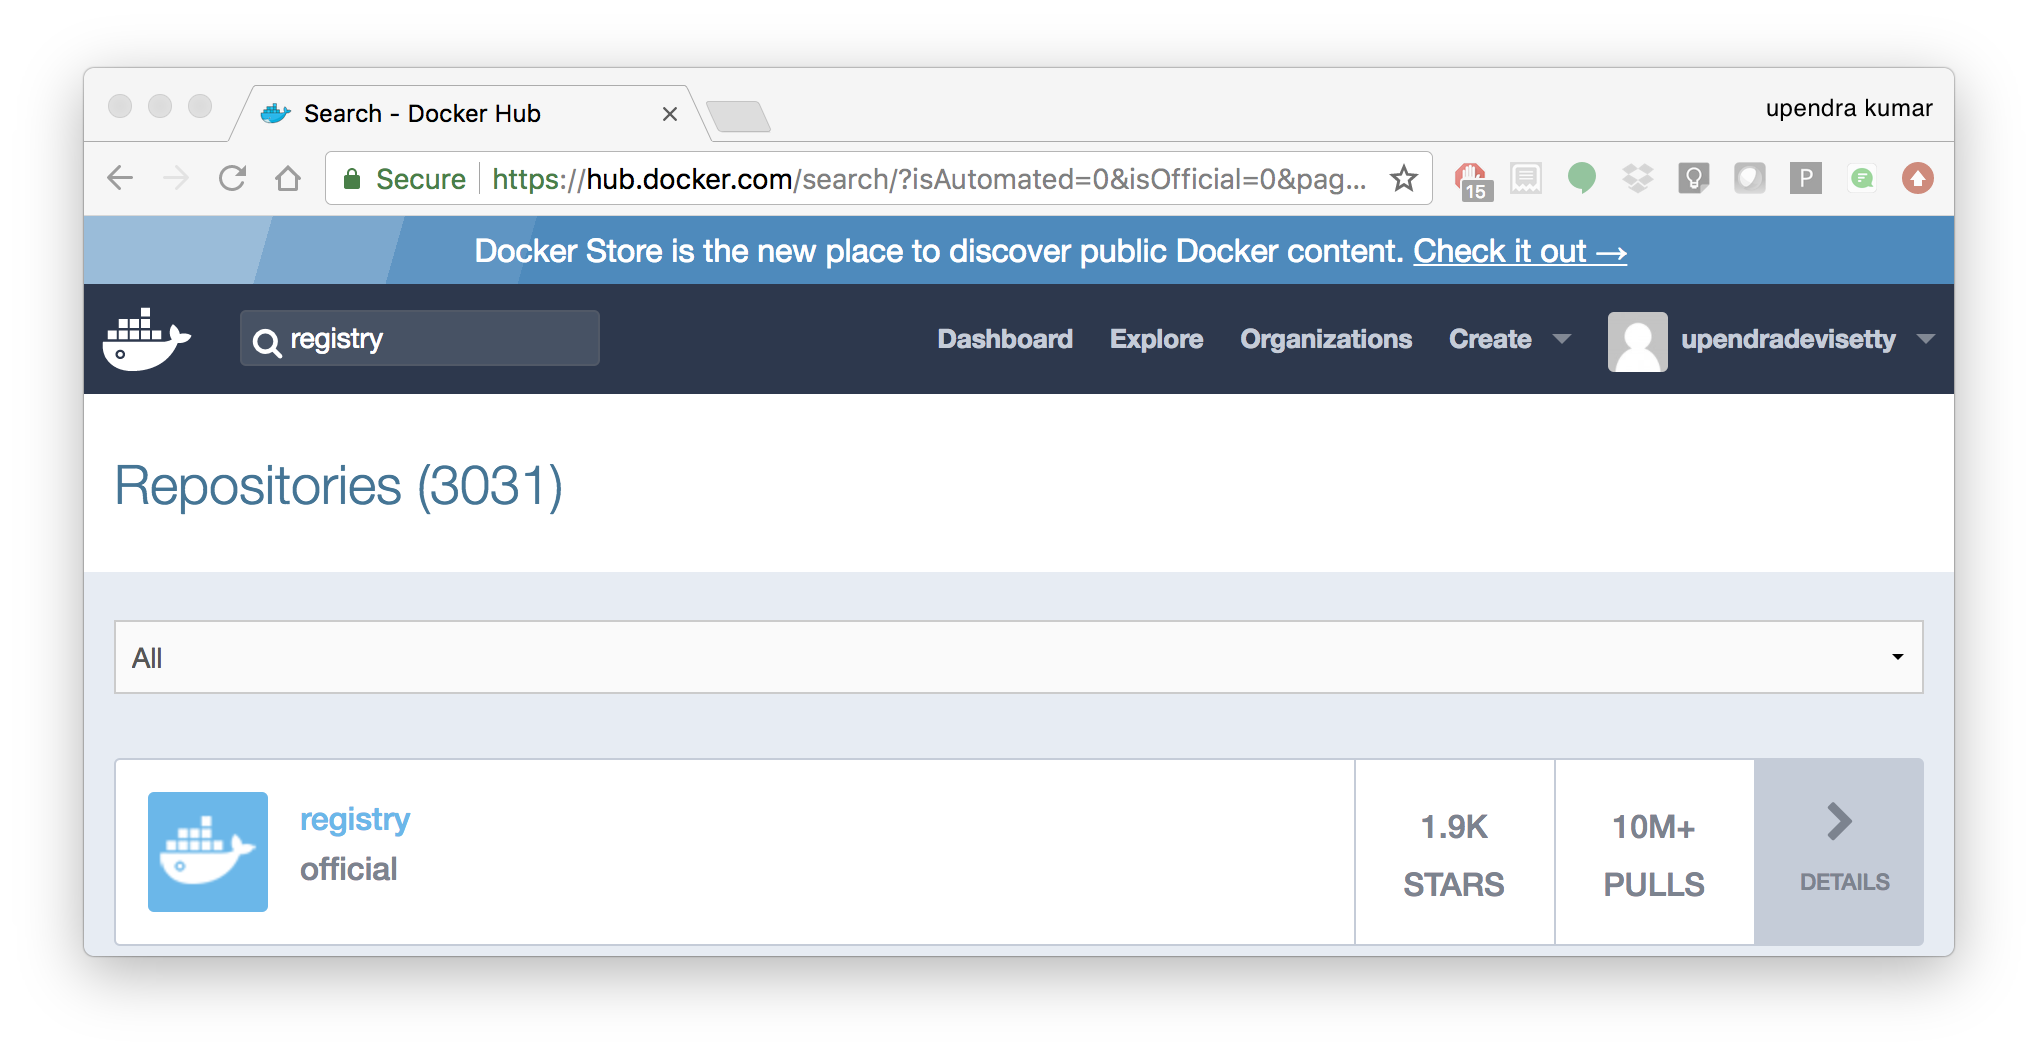
Run a container from registry Dockerhub image
$ docker run -d -p 5000:5000 --name registry registry:2
Run docker ps --latest to check the recent container from this Docker image
$ docker ps --latest
CONTAINER ID        IMAGE               COMMAND                  CREATED             STATUS              PORTS                    NAMES
6e44a0459373        registry:2          "/entrypoint.sh /e..."   11 seconds ago      Up 10 seconds       0.0.0.0:5000->5000/tcp   registry
Tag the image that you want to push
Next step is to tag your image under the registry namespace and push it there
$ REGISTRY=localhost:5000

$ docker tag $DOCKERHUB_USERNAME/jupyterlab-scipy:cyverse $REGISTRY/$(whoami)/mynotebook:1.0
Publish the image into the local registry
Finally push the image to the local registry
$ docker push $REGISTRY/$(whoami)/mynotebook:1.0
The push refers to a repository [localhost:5000/julianp/mynotebook]
64436820c85c: Pushed
831cff83ec9e: Pushed
c3497b2669a8: Pushed
1c5b16094682: Pushed
c52044a91867: Pushed
60ab55d3379d: Pushed
1.0: digest: sha256:5095dea8b2cf308c5866ef646a0e84d494a00ff0e9b2c8e8313a176424a230ce size: 1572
Pull and run the image from the local repository
You can also pull the image from the local repository similar to how you pull it from Dockerhub and run a container from it
$ docker run -P --name=mynotebooklocal $REGISTRY/$(whoami)/jupyterlab-scipy:cyverse